# Inventory
# Inventory Basics
Understanding how Barcodery interacts with inventory involves grasping three primary components:
- Item
- Location
- In/Out Entry
An Item, on its own, does not physically reside within a specific Location. Rather, it represents the attributes of an item such as its name and barcode. Items are assigned to a Location through an In Entry and are removed from a Location through an Out Entry. The In/Out Entry delineates which Item is allocated to which Location and the quantity of that Item involved.
# Item
In Barcodery, you can configure an item with a maximum of 30 custom fields, covering various types such as number, string, date, expiration date, document/image, or enum. For guidance on setting up these custom fields, refer to the link here. Additionally, items can also be associated with categories, tags, or states, each of which needs to be set up within their respective sections of the application.
Item creation is not limited to the web app, it can also be done through the Android app.
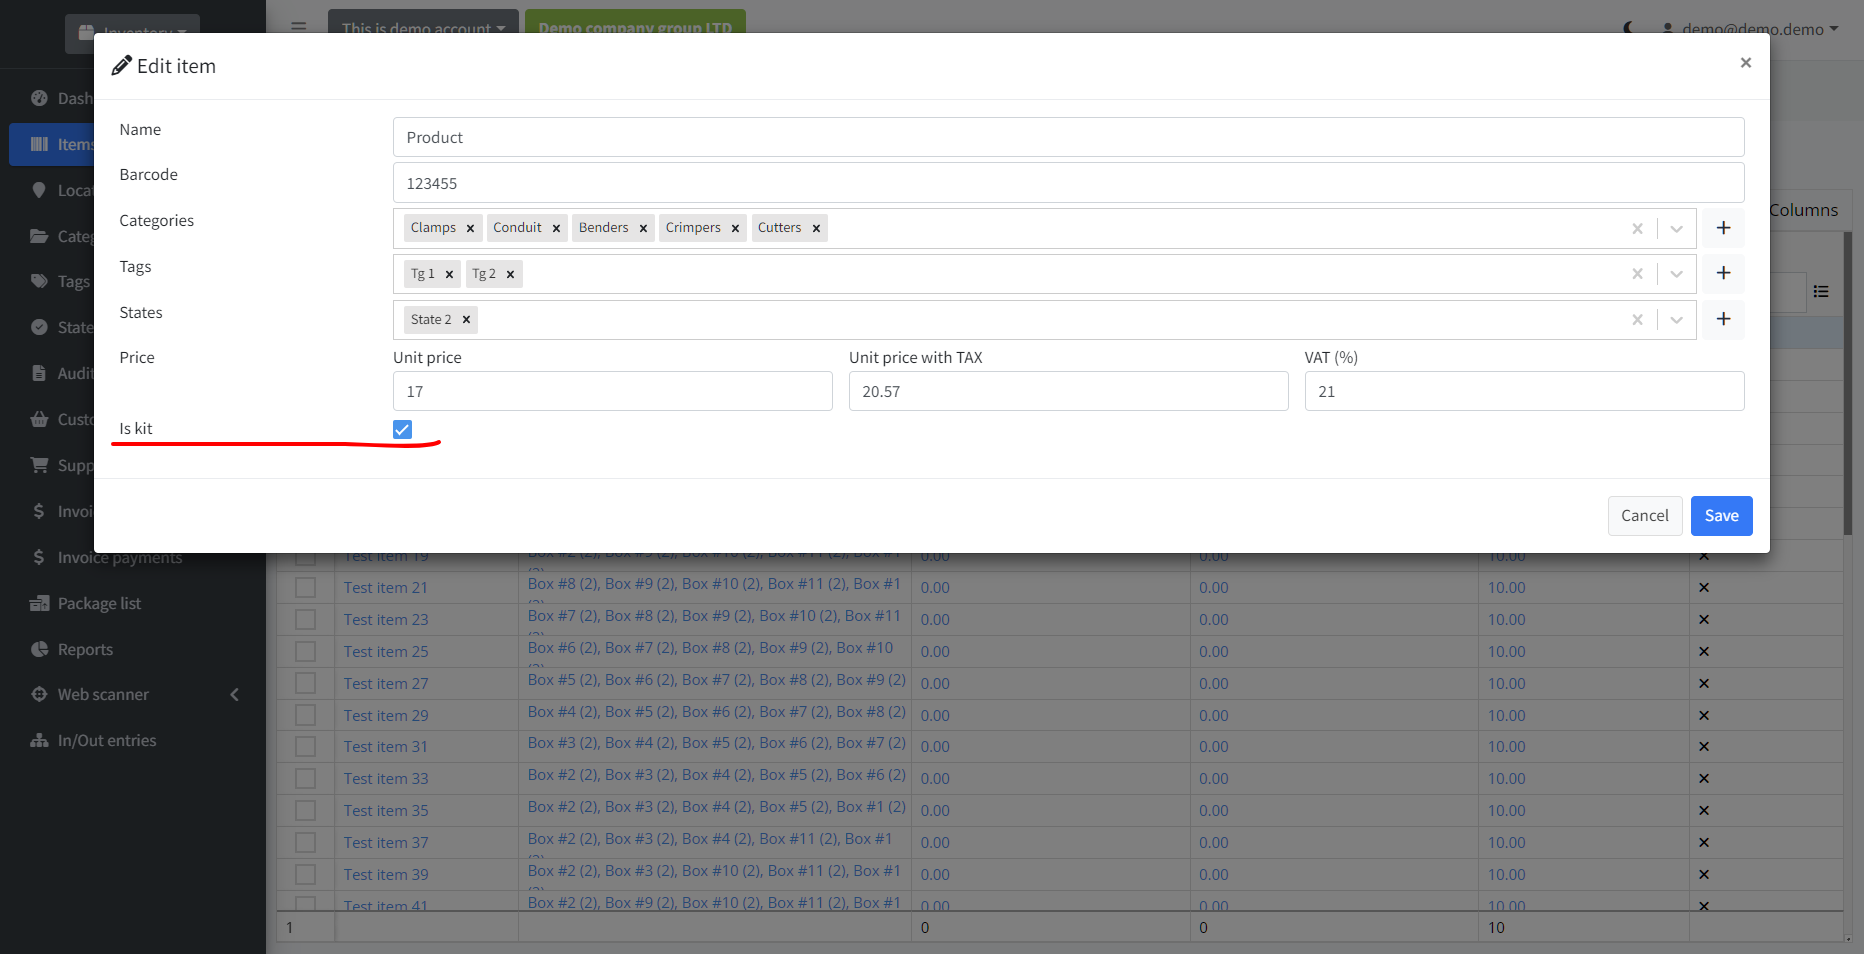
# Item kit
Enabling the Item Kit feature allows you to assign the Is Kit attribute to an item. This indicates that the item can consist of multiple other items. For example, if you're assembling a product comprising three distinct items, you can create an item named Product and mark it as a kit. Then, you specify that this Product includes ItemA, ItemB, and ItemC. Barcodery will then track the quantity of possible products available in each location.

# Single item instance
Enabling this feature in Barcodery restricts the entry of multiple counts for the same item. Each item is allowed to exist only once, and during item creation, you must also specify the location. Barcodery automatically generates an entry for the selected location upon item creation.
# Prices
Enabling this feature in the app enables pricing functionality across various locations. Once activated, you can input prices for items. Subsequently, during the creation of in/out entries, the price can be adjusted as needed. Barcodery can display total prices per location within the Location section of the app or within the item details under the Locations tab. These prices are also applied to customer/supplier orders.
# Audits
Enabling these features triggers audit functionalities. When you initiate an audit, it generates a list of all expected items in the designated location or category. You can then utilize the Android app to scan all items within that location. Subsequently, Barcodery identifies any missing items and highlights any extras.
# Scanning items
To scan items, you have two options available:
- Web app
- Android app
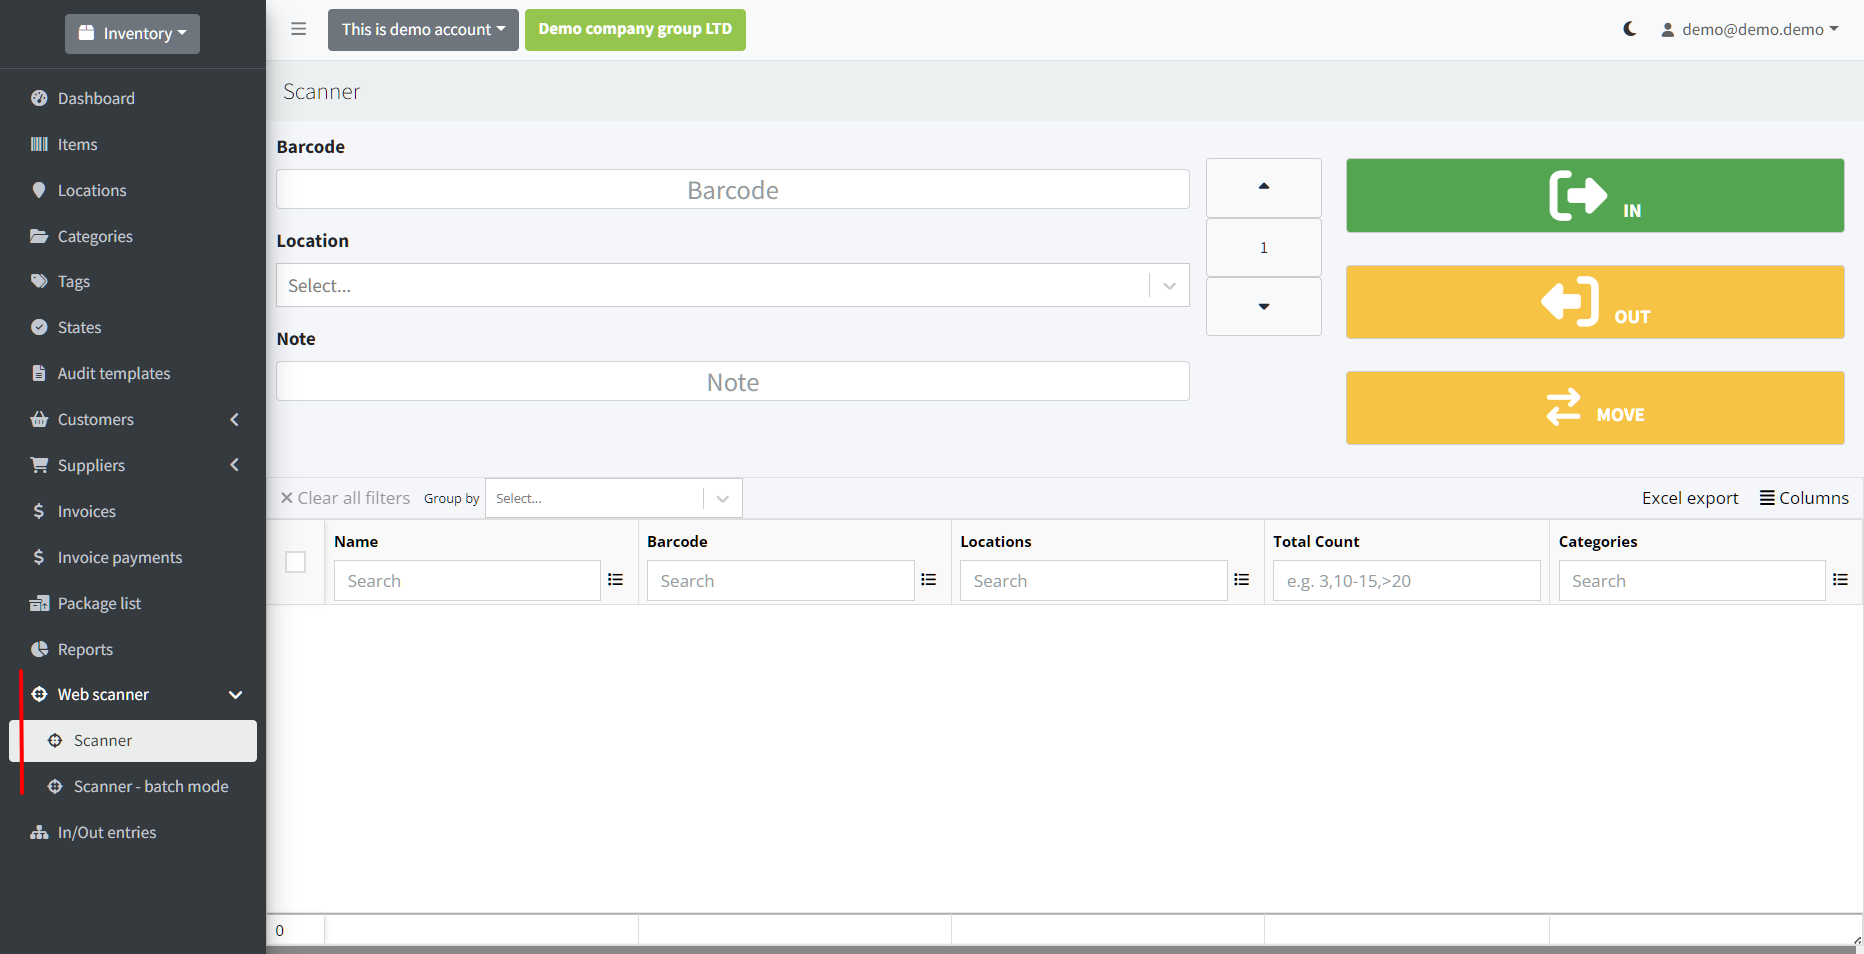
# Web app scanner
To utilize the web app for scanning items, you must enable the Web Scanner feature and ensure you have a USB scanner connected.
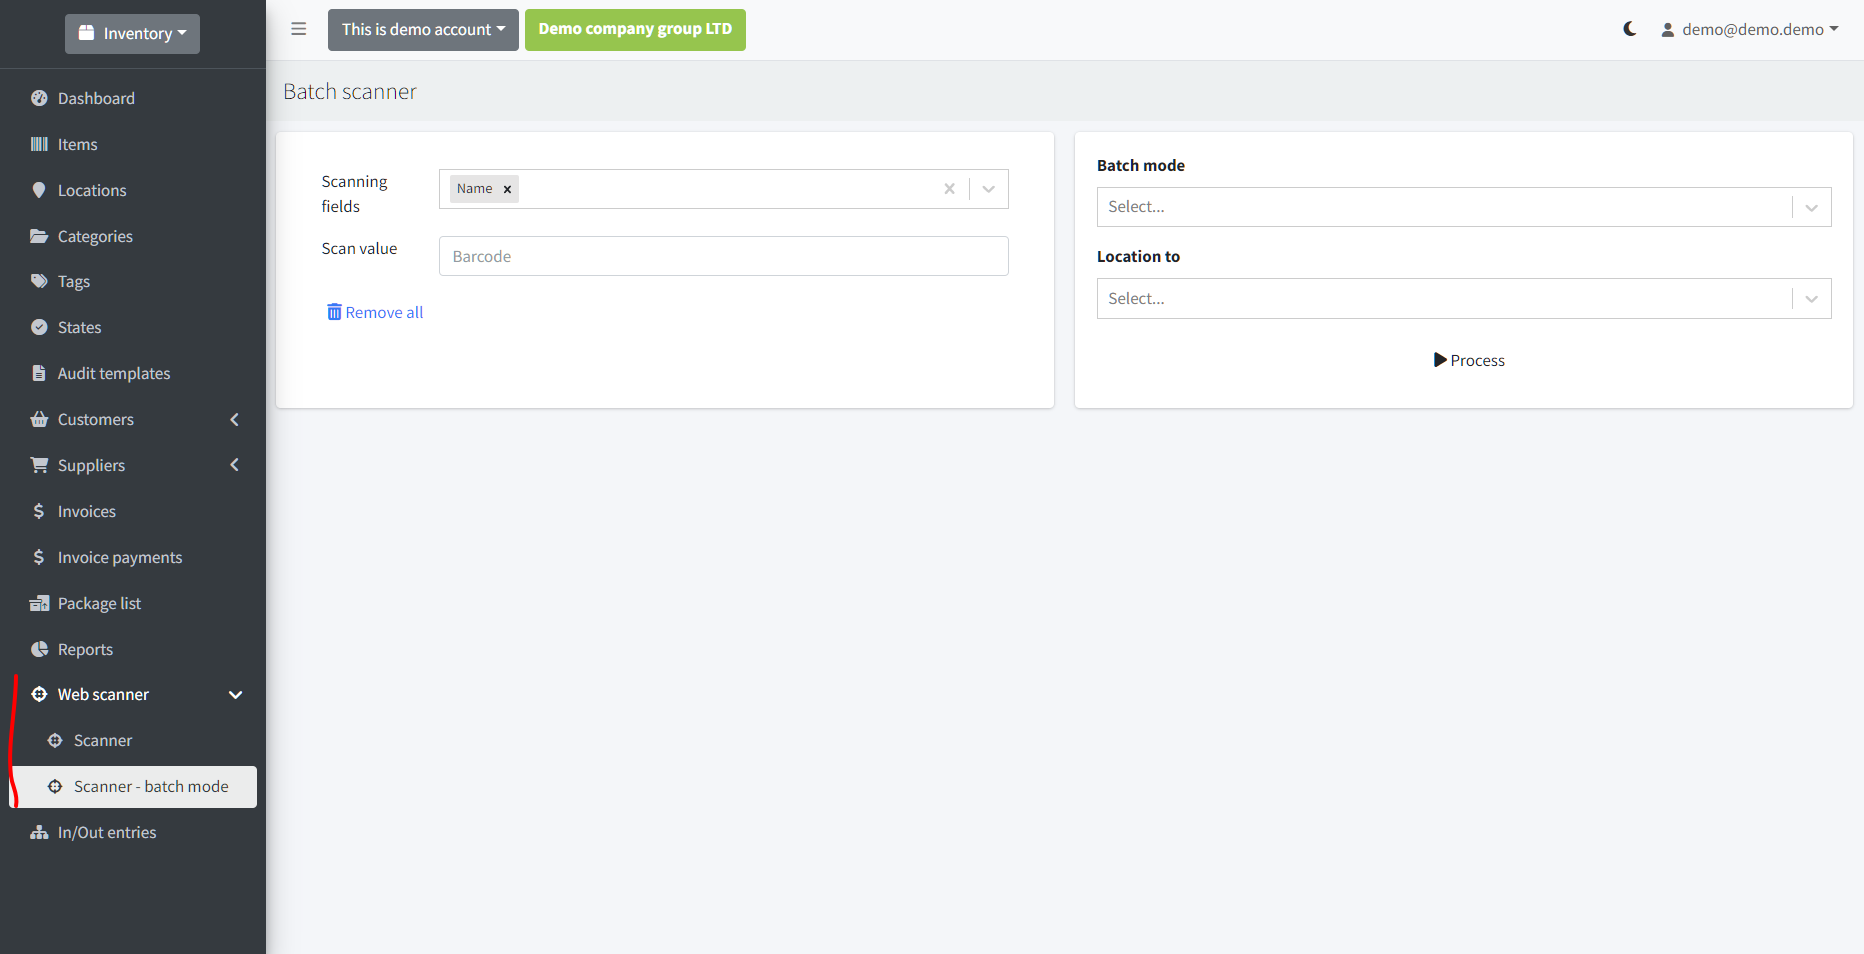
Web scanner in batch mode
# Android scanner
Several scanner are available in android app
- Camera - uses built in camera
- Bluetooth - uses bluetooth connected barcode scanner
- NFC - uses android built in NFC reader
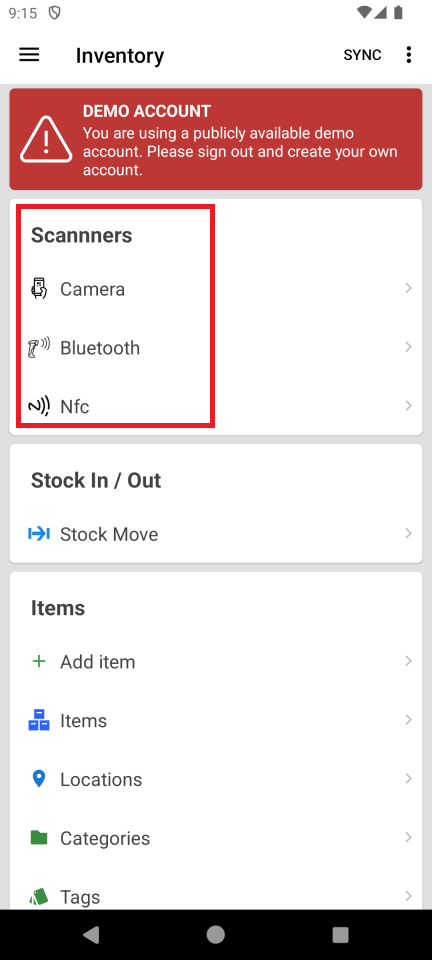
These scanner works the same way. So let's explain it using Camera scanner 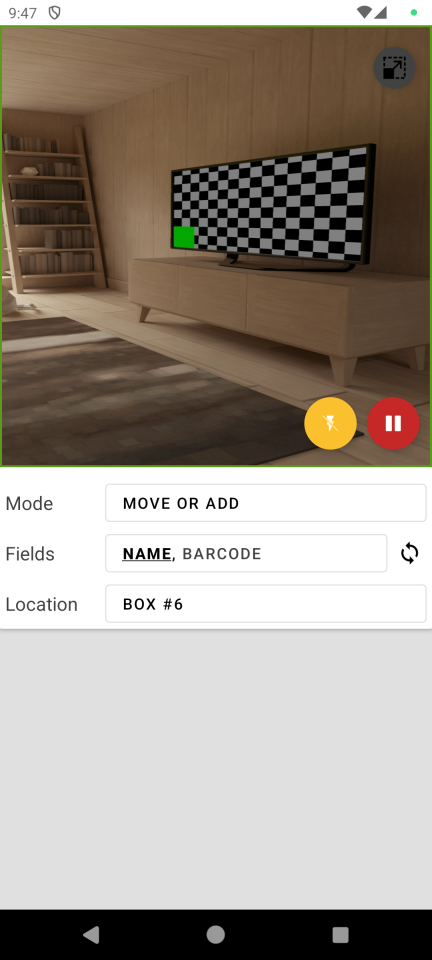
When you launch scanner set up following to your needs:
- Mode
- Fields
- Location
# Scanning Mode
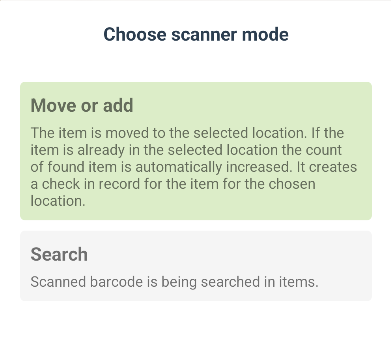
This feature represents the scanning mode. By clicking on the Mode, a dialog appears allowing you to select the desired mode of operation for the scanned item. The available modes are:
Move or add: This option relocates the item from its current location and assigns it to the selected location (creating in and out entries). Or if the item does not exists it creates new item
Search: This mode simply locates the item and displays its details.
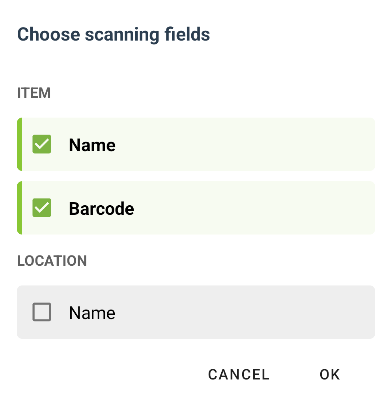
# Fields Selection
In this section, you can specify which fields you want to scan. Typically, this involves scanning just the barcode, but you have the option to scan multiple fields if needed, including the location. The following dialog is displayed:
# Location
In this section, you are required to choose the location to which you intend to move the item.
Once an item is scanned, it is added to the lower part of the screen where a history of scanned items is maintained. You can tap the RE-USE button to utilize the scanned item again.
← Introduction Sales →